Development Environment
Development with the SPiC-IDE
Start
- Login at a CIP computer with username and password (look at I have no login for the Informatik CIP), you can use the default window manager.
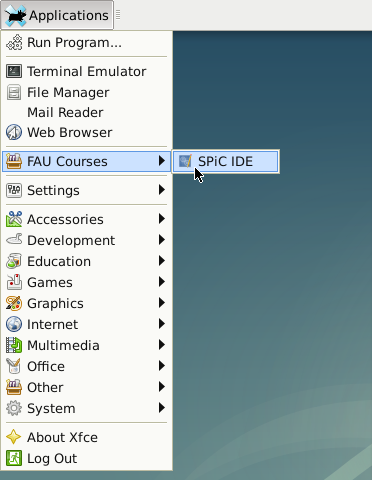
- Select the SPiC-IDE from the available programs
- Alternatively, the IDE can be started with the script
/proj/i4spic/bin/editor. - It can take a few seconds for the IDE to start, especially at the first start.
User Interface
The SPiC-IDE has different user interfaces: for the microcontroller (first part of the lecture), the IDE can be used with to program the hardware, while offers a simulator. For the second part of the lecture, offers a mode for the system-programming section.
The usage is explained at SPiC-IDE in more detail.
Usage without IDE
The most important paths in the CIP
/proj/i4spic/pub/Publich folder with exercise sheets, additional material and example applications. Additionally, for many exercises there are example implementations available./proj/i4spic/LOGINYour SPiC project directory./proj/i4spic/bin/Scripts, e.g., for submission.
Create your project directory
- Open Terminal (View -> Tool Views -> Show Terminal)
- Change into the i4spic user directory:
cd /proj/i4spic/LOGINHint: The tab key completes the directory/file name if possible. - Create exercise directory:
mkdir aufgabeX(whereXis the exercise number) - Change into the exercises directory:
cd aufgabeX - Create exercise file:
touch aufgabenname.c - Copy the SPiC Makefile into the current directory:
cp /proj/i4spic/pub/libspicboard/Makefile .
Text Editor (Example: Kate)
- Change into the exercise directory:
cd /proj/i4spic/LOGIN/aufgabeX - Start Kate:
kate aufgabenname.c
Flashing with Linux / in the terminal
- To flash the program onto the SPiCboard, a Makefile with instructions for the tool make is used.
- Change into the directory with the program to be used:
cd blink - In case that the SPiC Makefile is not yet in the directory:
cp /proj/i4spic/pub/libspicboard/Makefile . - Call
make <programmname>.flash; for example:make blink.flash
Magic Makefile (for microcontroller projects)
- The typical way to translate C source code into a binary is make, which executes the commands described in the
Makefile(located in the same directory). - It is useful to include the
debug.mkfrom the libspicboard library in a separateMakefileby addingLIBSPICBOARDDIR ?= /path/to/libspicboard include $(LIBSPICBOARDDIR)/debug.mk
Therefore, generic targets are included, which are sufficient for the most smaller projects (made out of one file): A fileblink.ccan be translated and flashed onto the connected SPiCboard by executingmake blink.flash
. - For more complex projects, specificc targets can be created; for example a project of the three files
main.c,display.candsensor.ccan be compiled to the binary filewatch.elfwith the additional dependencieswatch.elf: main.c display.c sensor.c
in the previously created Makefile. Of course, it is also possible to overwrite the rule, e.g., to pass own parameters to the compiler:watch.elf: main.c display.c sensor.c $(CC) $(CFLAGS) -Wshadow -DFOO=1 -o $@ $^ $(LDFLAGS)Now, it is also possible to call the other targets such asmake watch.flash
for the new project. - A detailed listing of the functionality can be printed with
make help
.